Ring A Day
My plan this year is to make at least one ring each day. I hope this will help me to keep motivate in making my own work and also to keep me consistent in posting items in my etsy shop. Most of the time I will spend a few days and make a few rings then in a week or so I will post them in my etsy shop together all at once. I hope that making and posting a ring each day will draw more traffic to my shop. I find that when I post items it draws more people into my shop. More traffic will hopefully mean more sales and one of my goals for this year it to become more self sufficient on my own work. I also figure that if I can spend at least 1 hour of each day making something then that will really help me to become better at making things. I'm not sure if it will really work or if this will pay off at all but I'm willing to take a chance and put in the effort. Also, I hope to make enough money to visit Carmel in South Africa.
I figure that if I'm going to be posting rings each day and sharing them with you I should probably show you just how I make one of my rings. So earlier today I took pictures as I was making today's ring, I plan on one day to make a video of the process but this will have to do till then. I'll share the pictures and comment along with them.
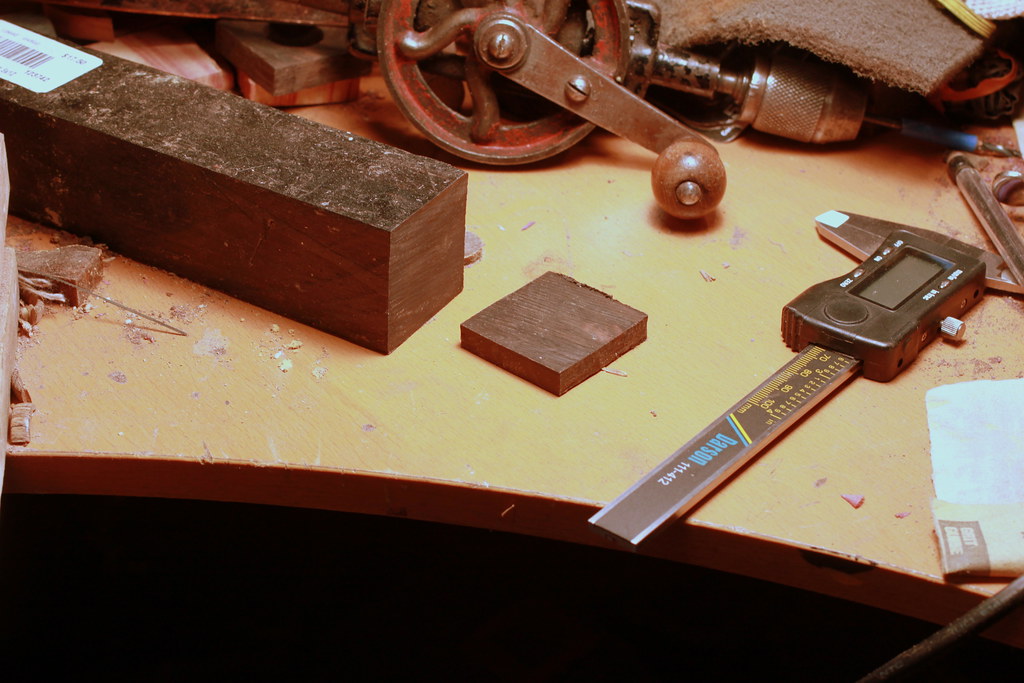
First I start off with a rough blank cut from stock.This will be an ebony ring.
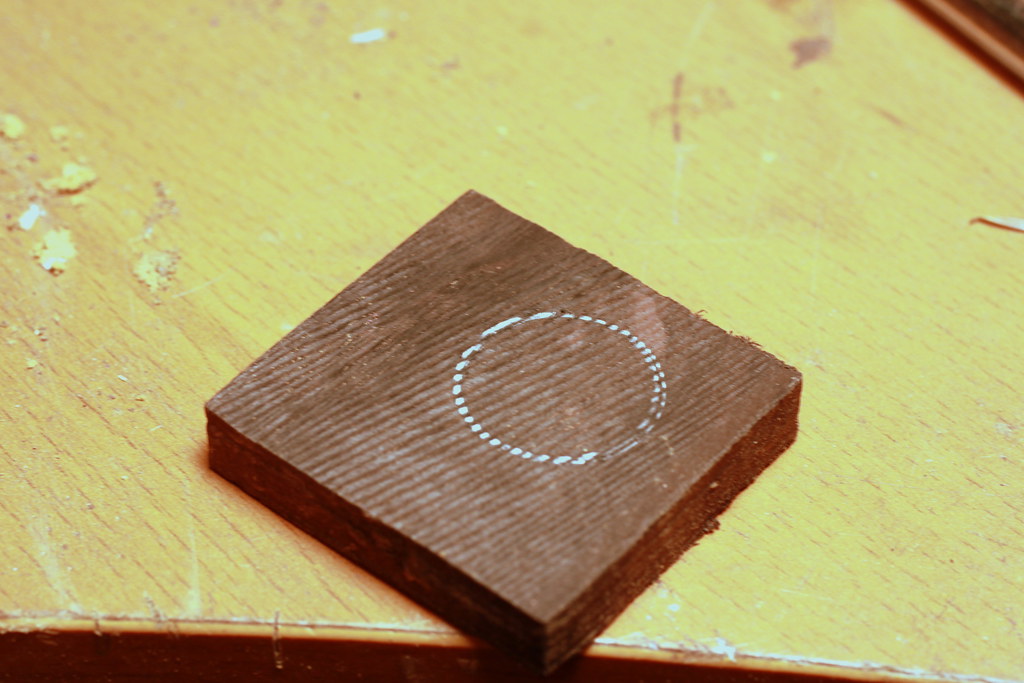
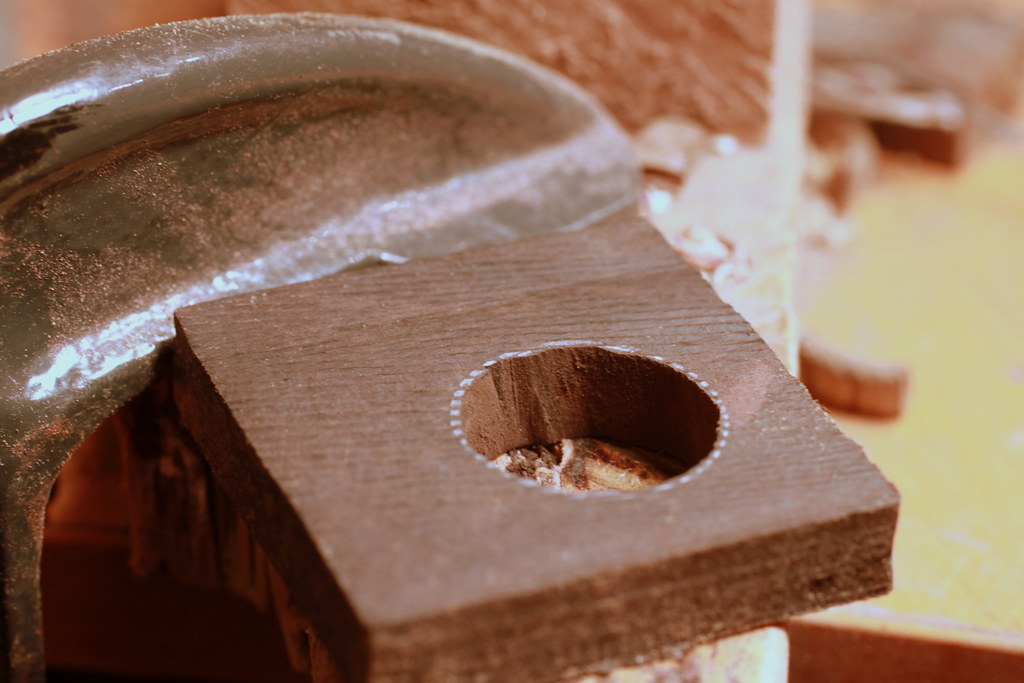
I then draw out rough guide for the inside of the ring.
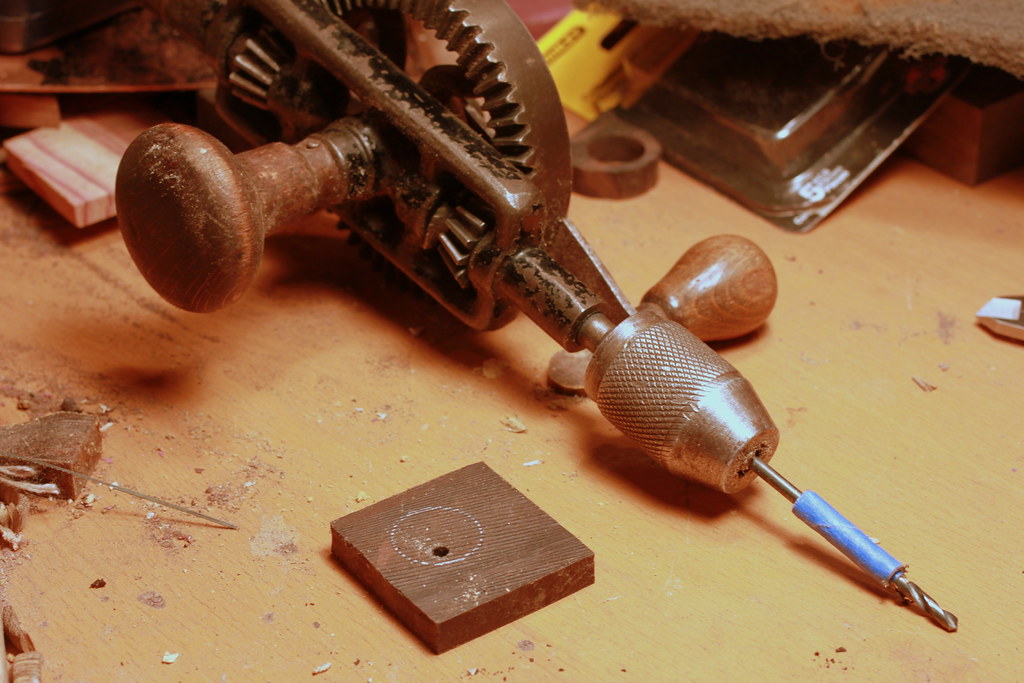
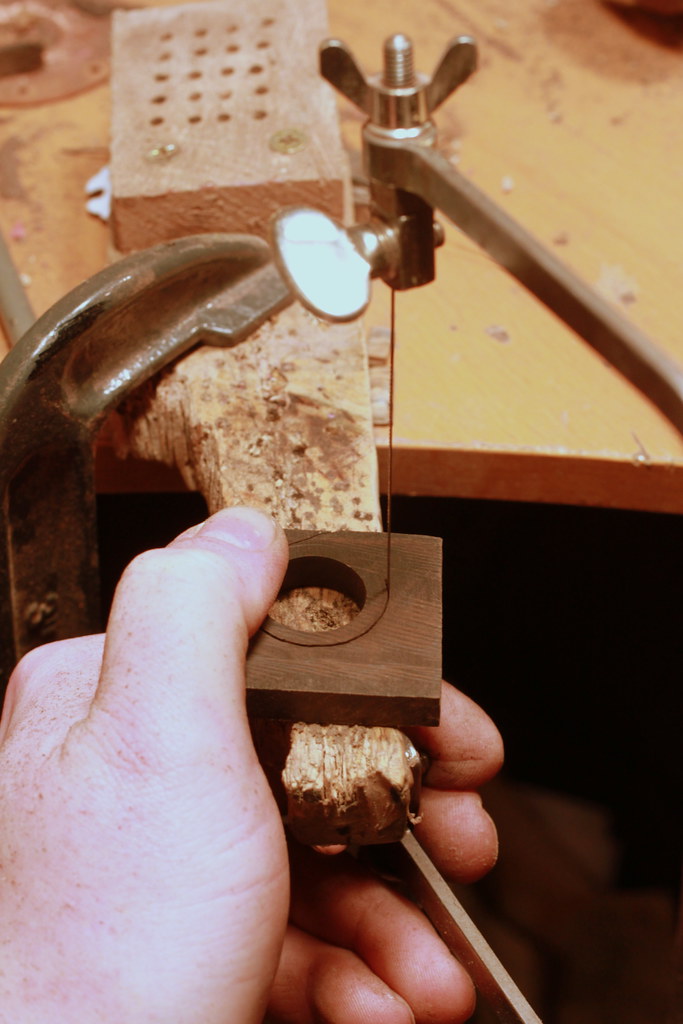
Using a hand drill I put a hole near the line so I can slide my saw blade in.
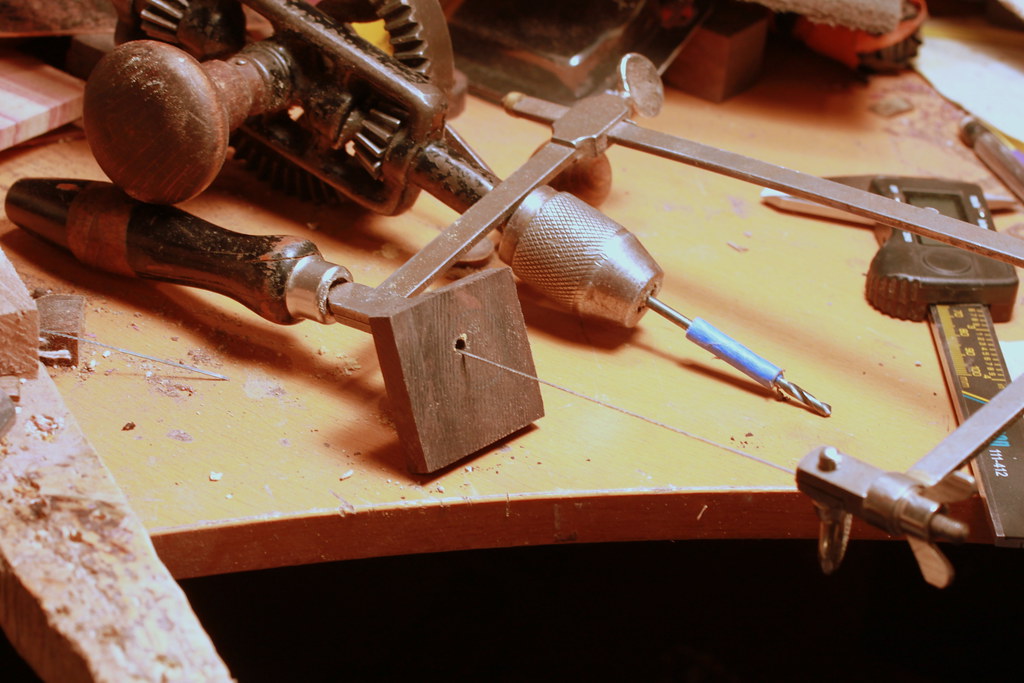
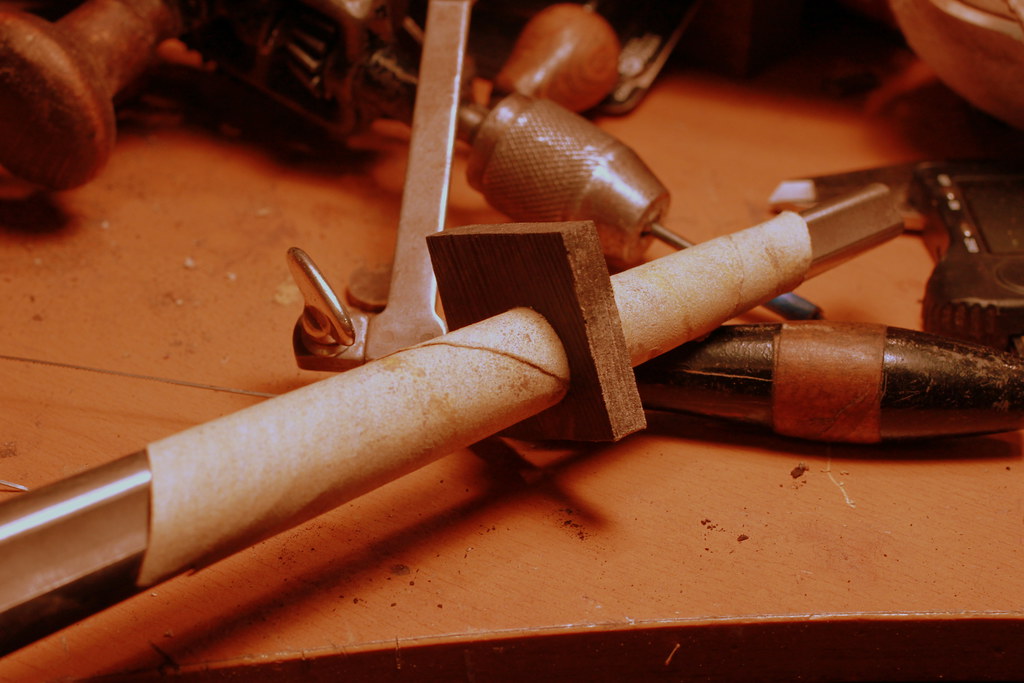
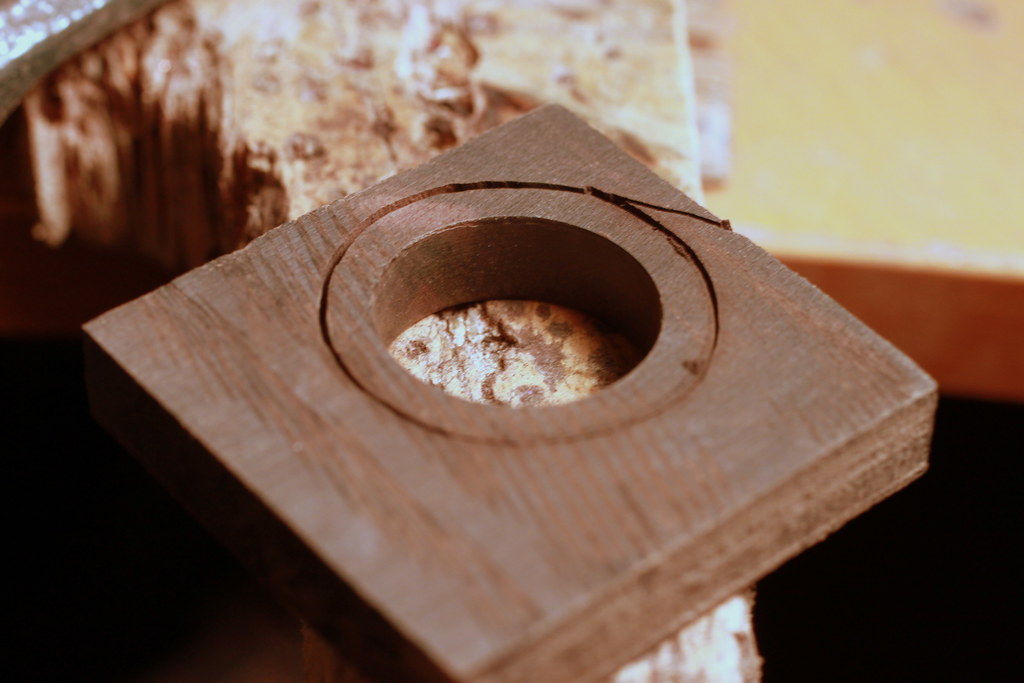
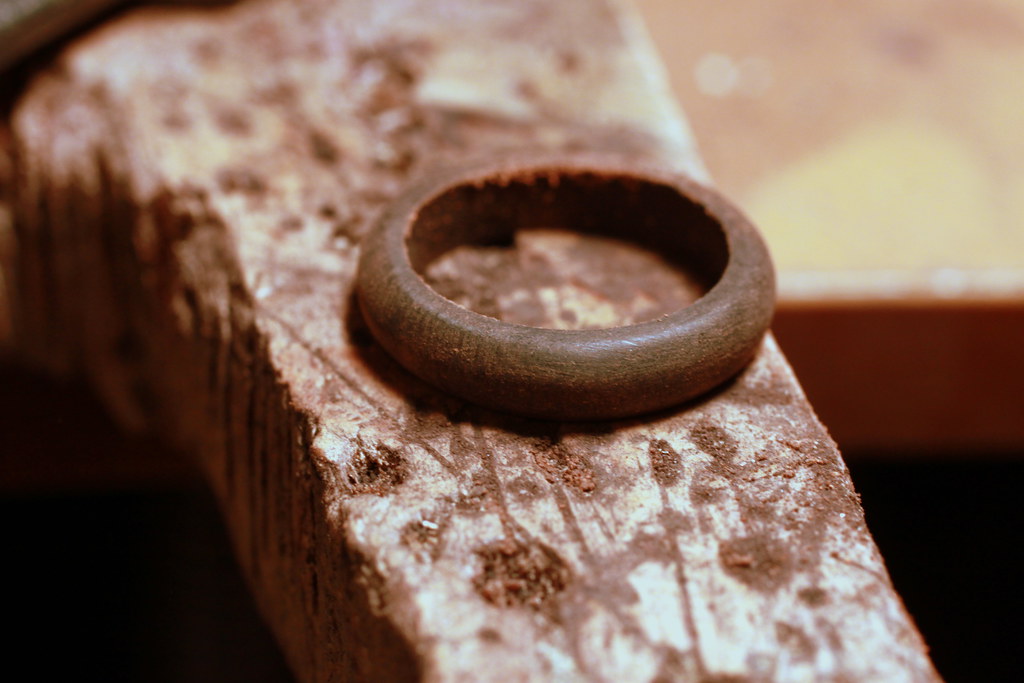
I use a jewelers saw to roughly cut out the inside of the ring.

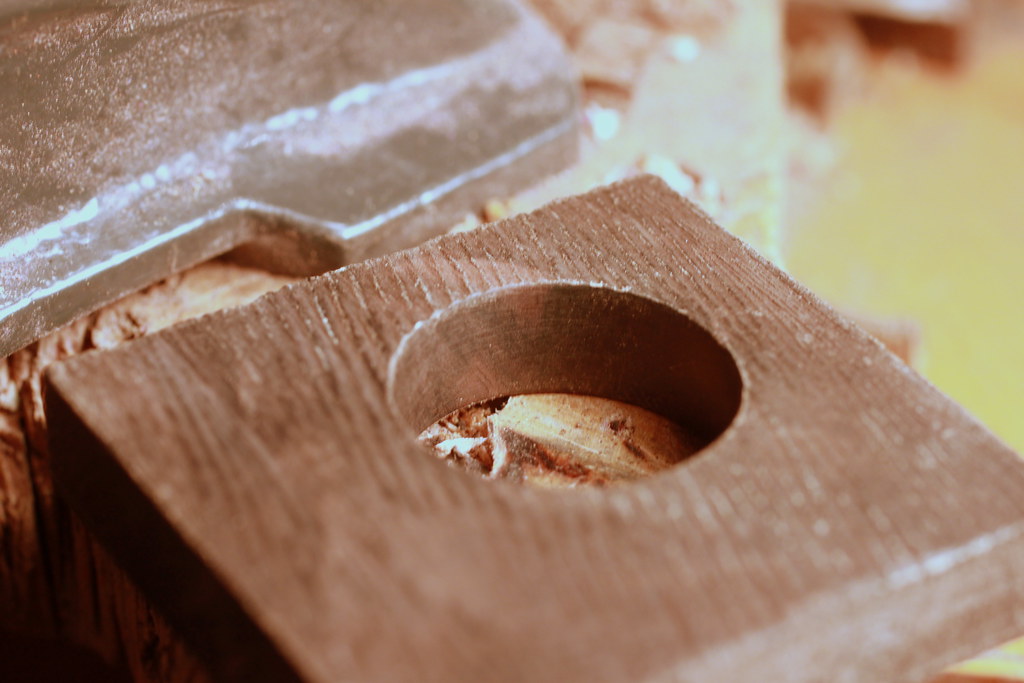
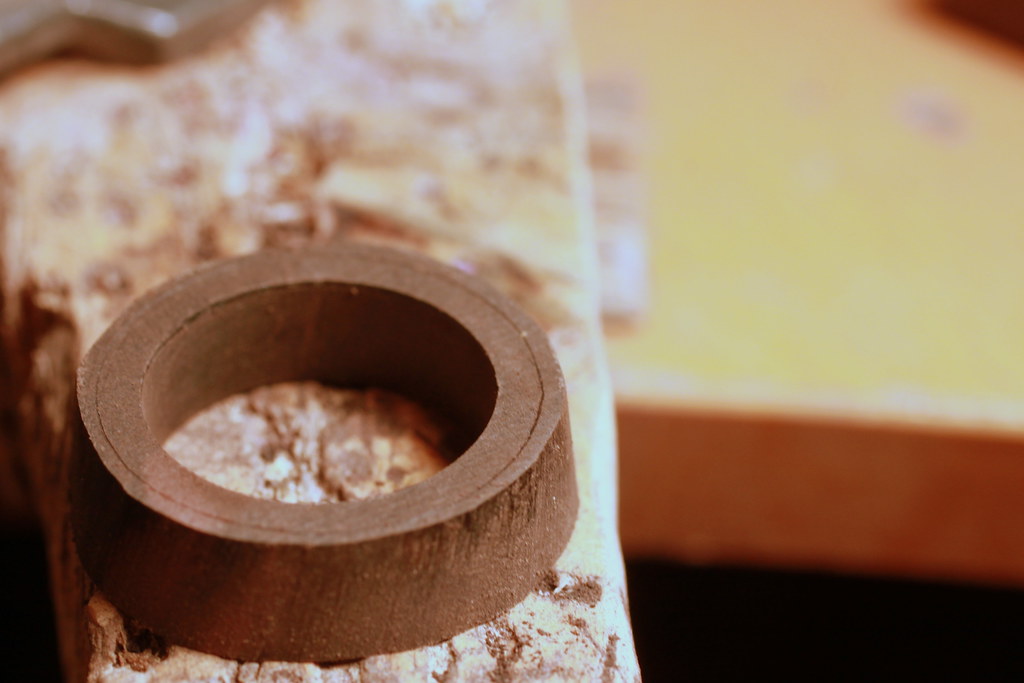
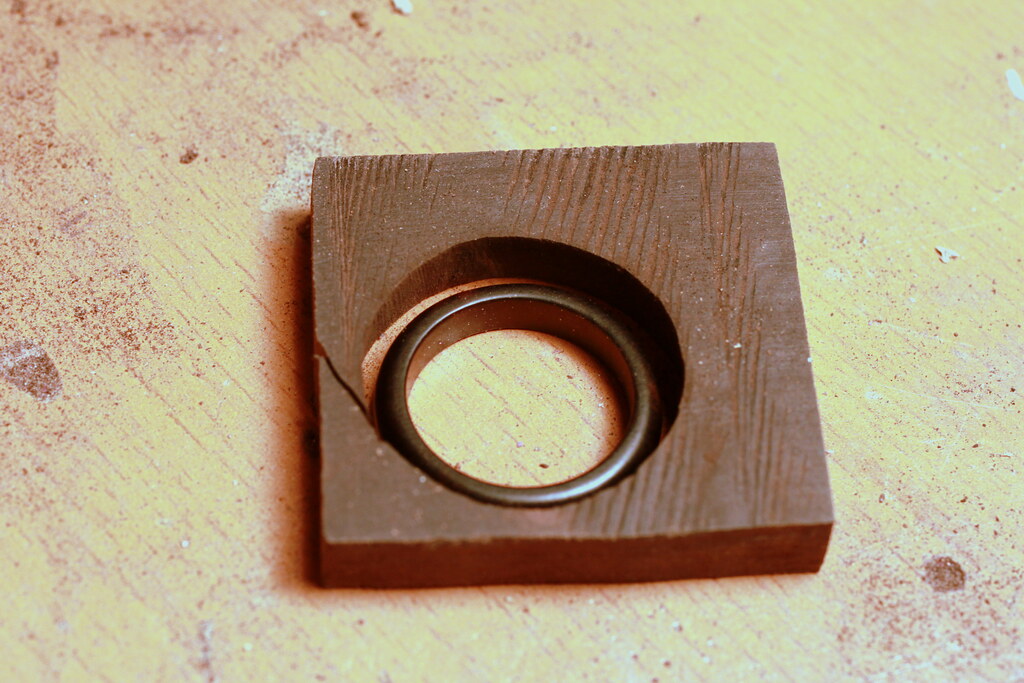
I then use sandpaper to smooth out the inside of the ring and size it before shaping the outside.
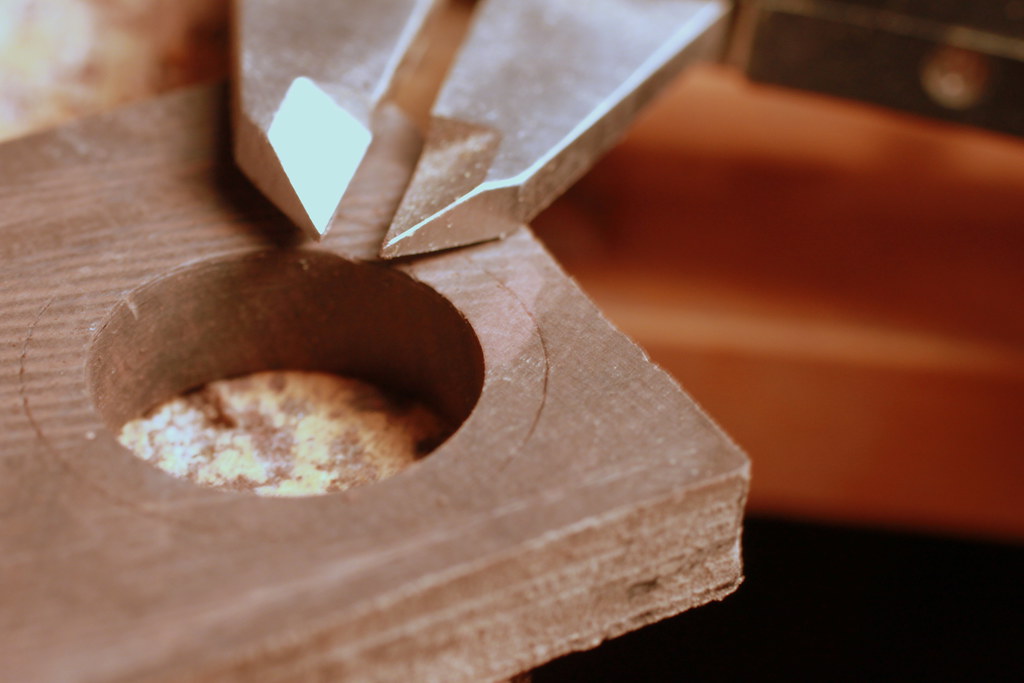
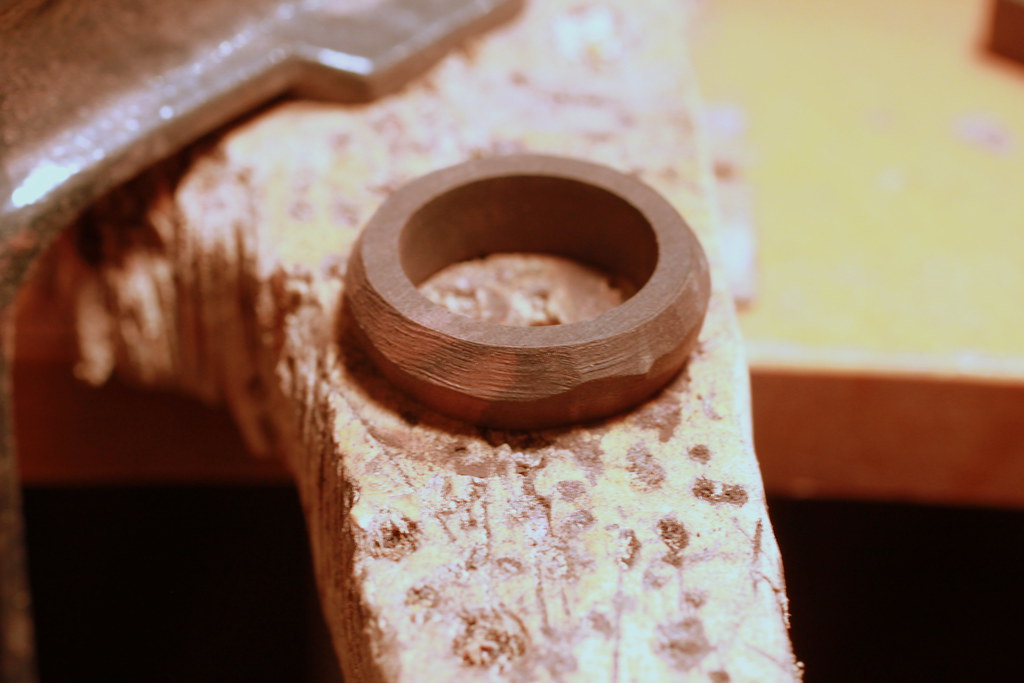
Then I use calipers to first mark a line to cut out a rough shape of the outside
I then make more marks to where I want the finished edges to be. From now on I use my dremel and sandpaper to shape the ring.
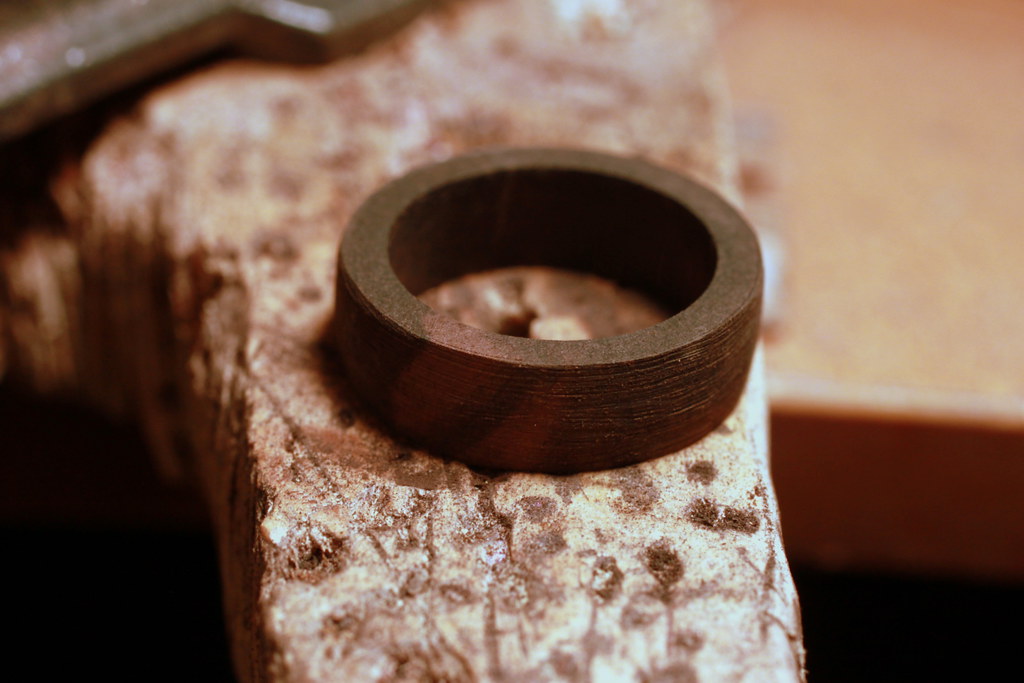
After the outside is close to where I want it I then make the width of the ring to the right size. This ring seemed a little wide so I decided to make it thinner.
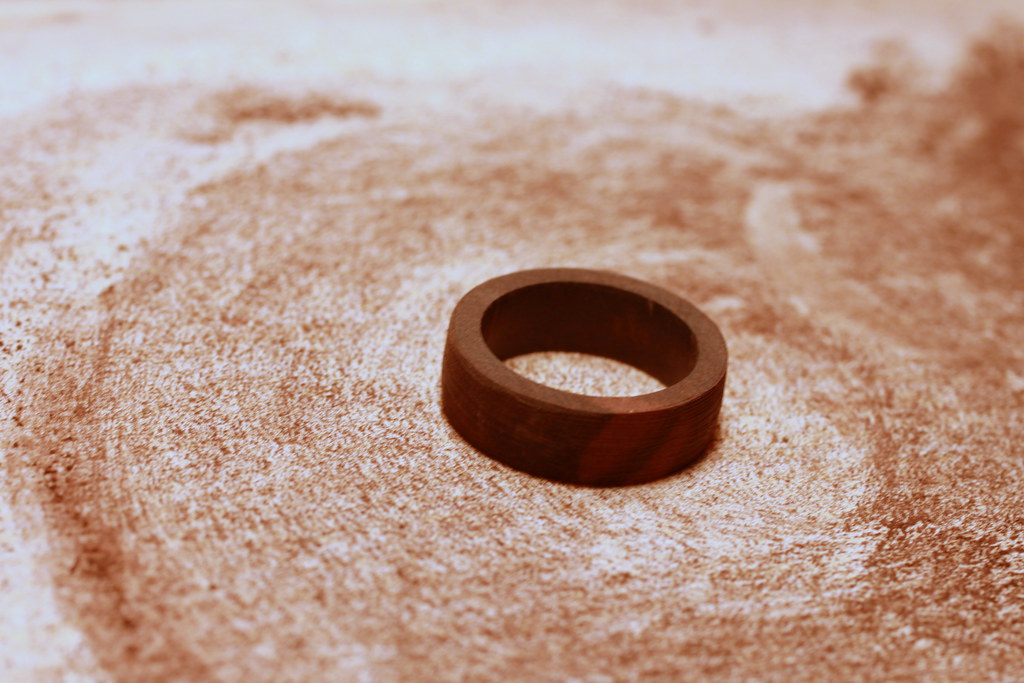
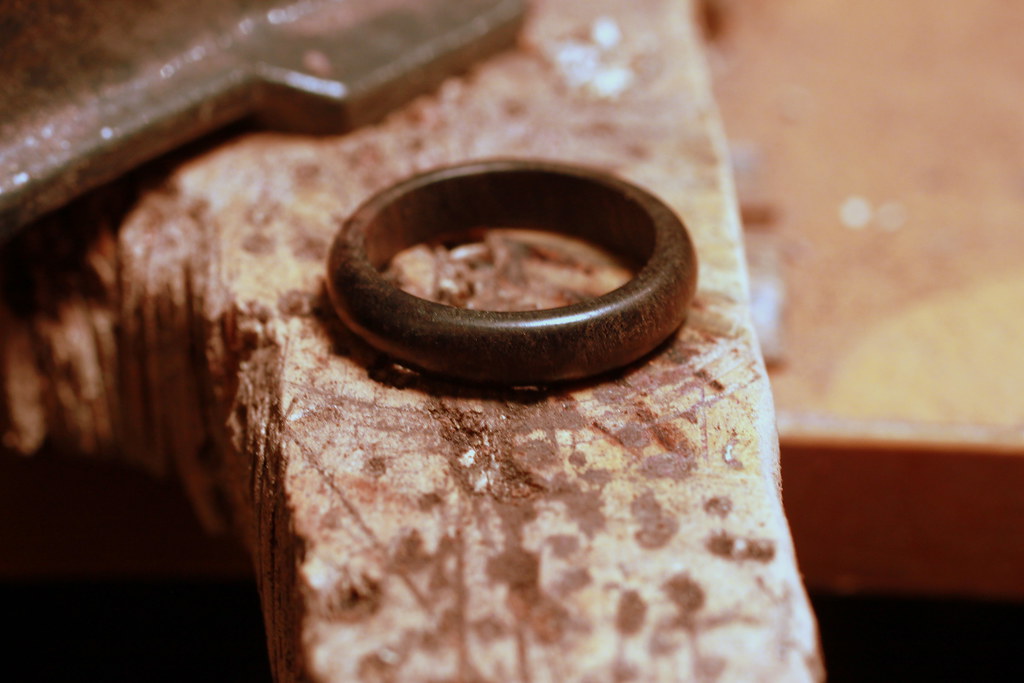
After it is as thick as I want it I then start to shape the ring using more sandpaper.
I get the shape I want and just keep using finer and finer sandpaper
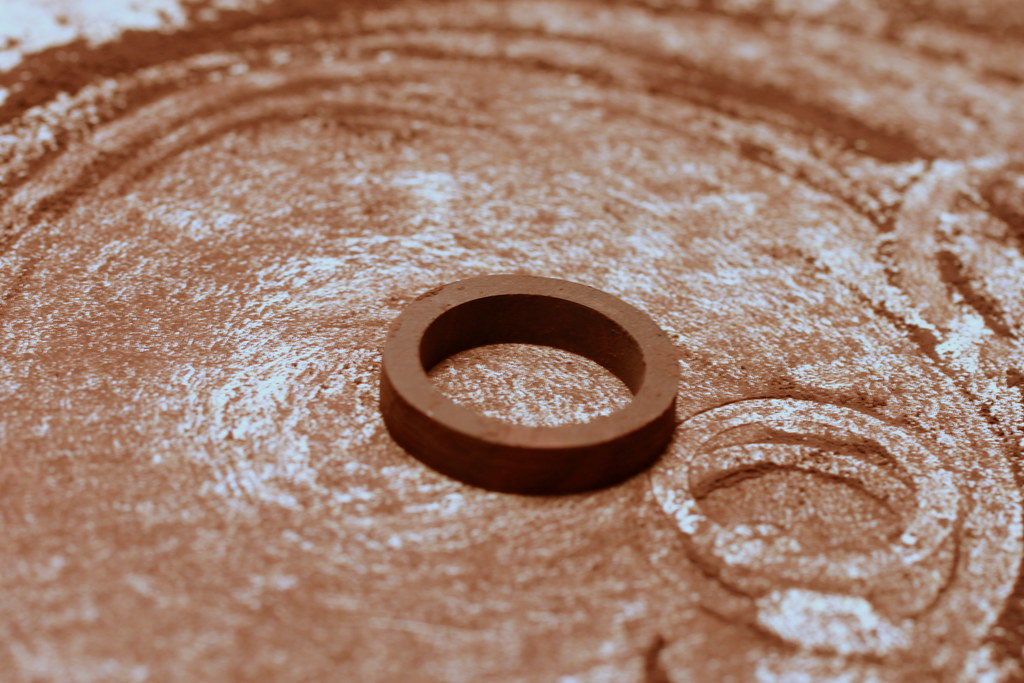
Once I have the ring to where I like it then I put some boiled linseed oil on it to help preserve the wood and to bring out its natural beauty
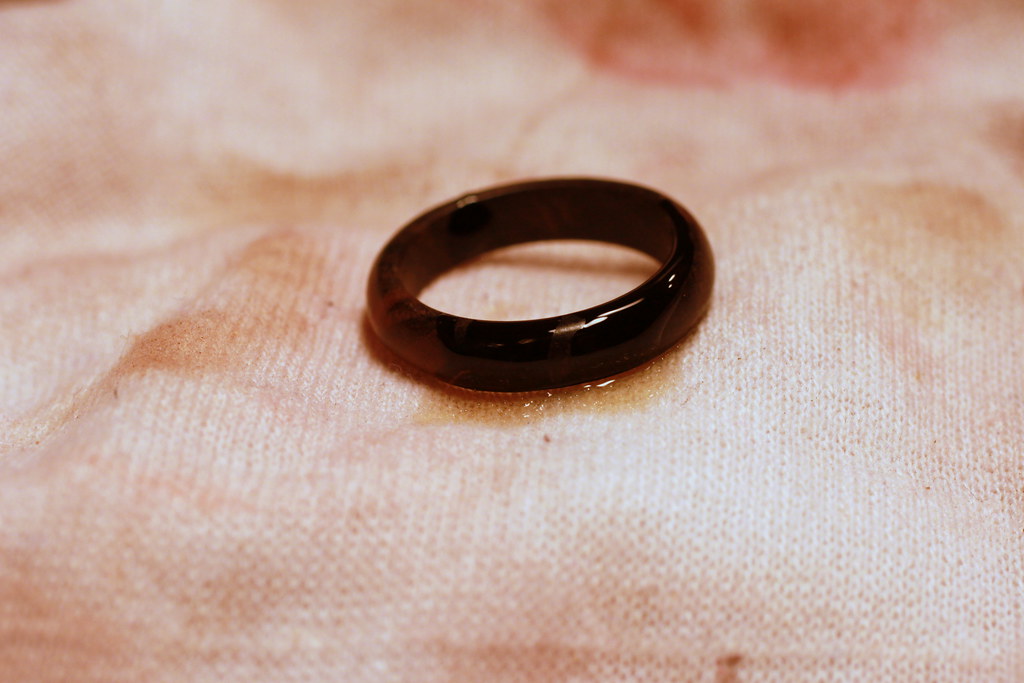
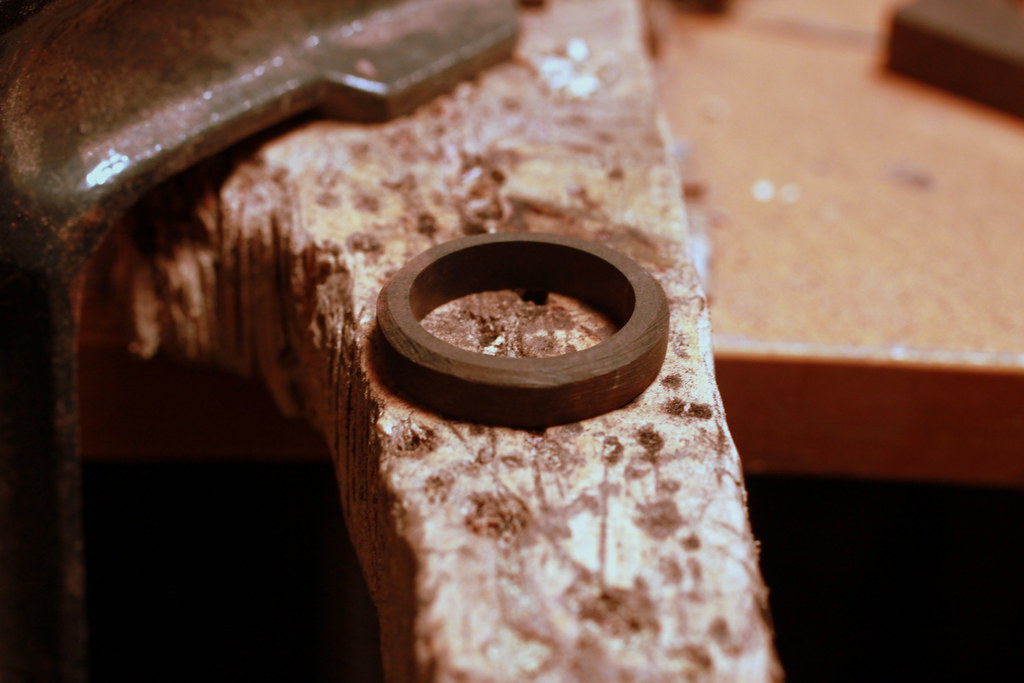
Done
Here you can see from whence it came
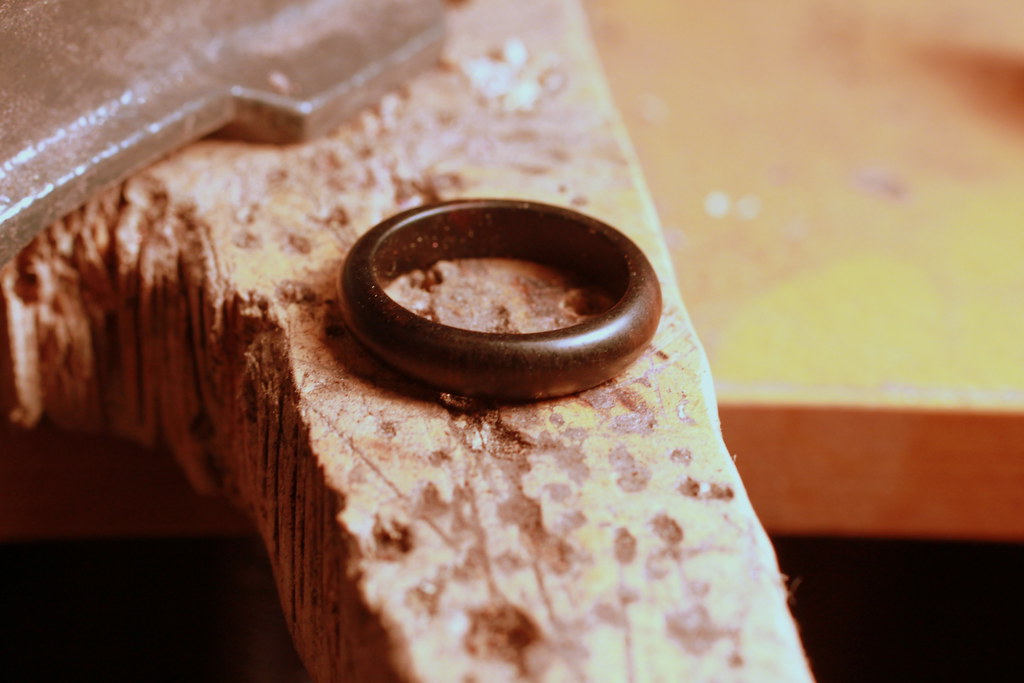
Then it's ready for Etsy.
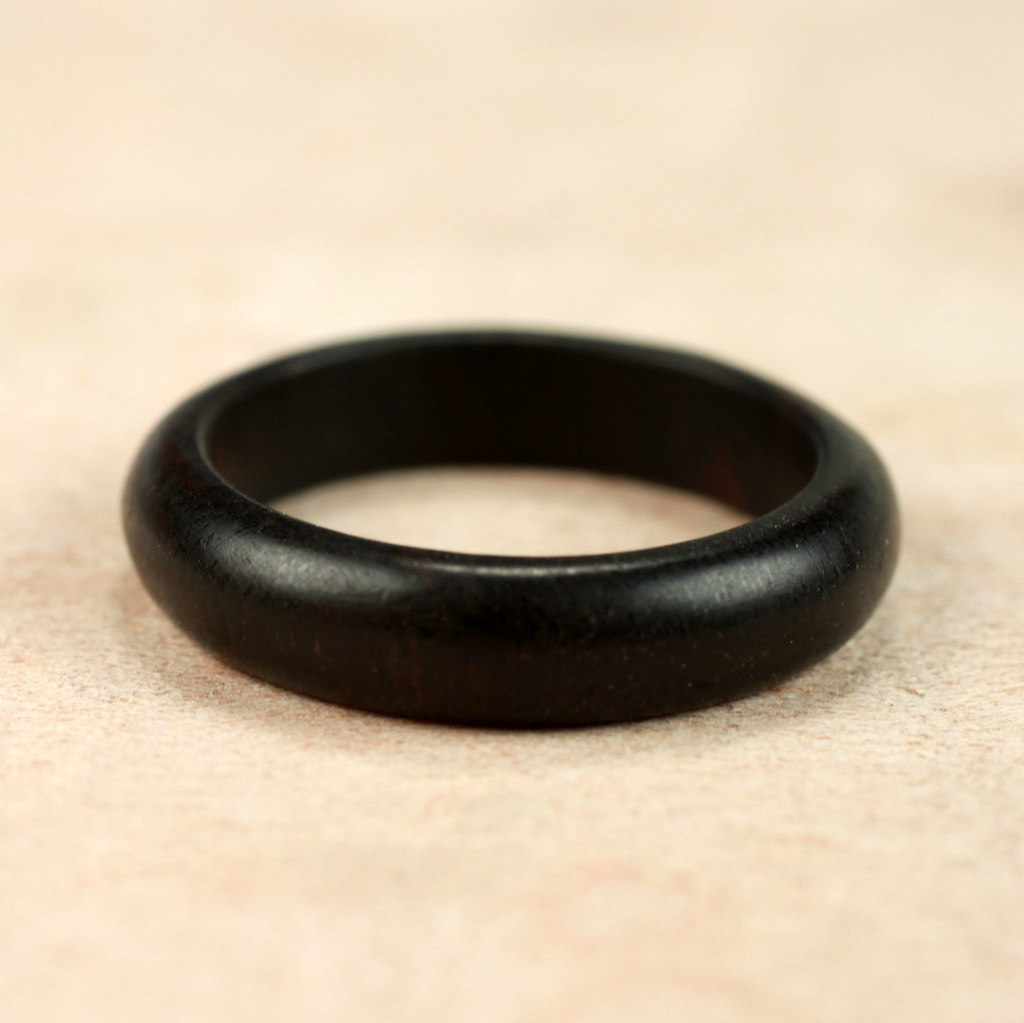
This ring is for sale now in my Etsy Shop.
I really like seeing the process! It would be cool to link this up to your Etsy shop somehow so that people can see how much work goes into their little ring. I also love the blog a day resolution.
ReplyDelete